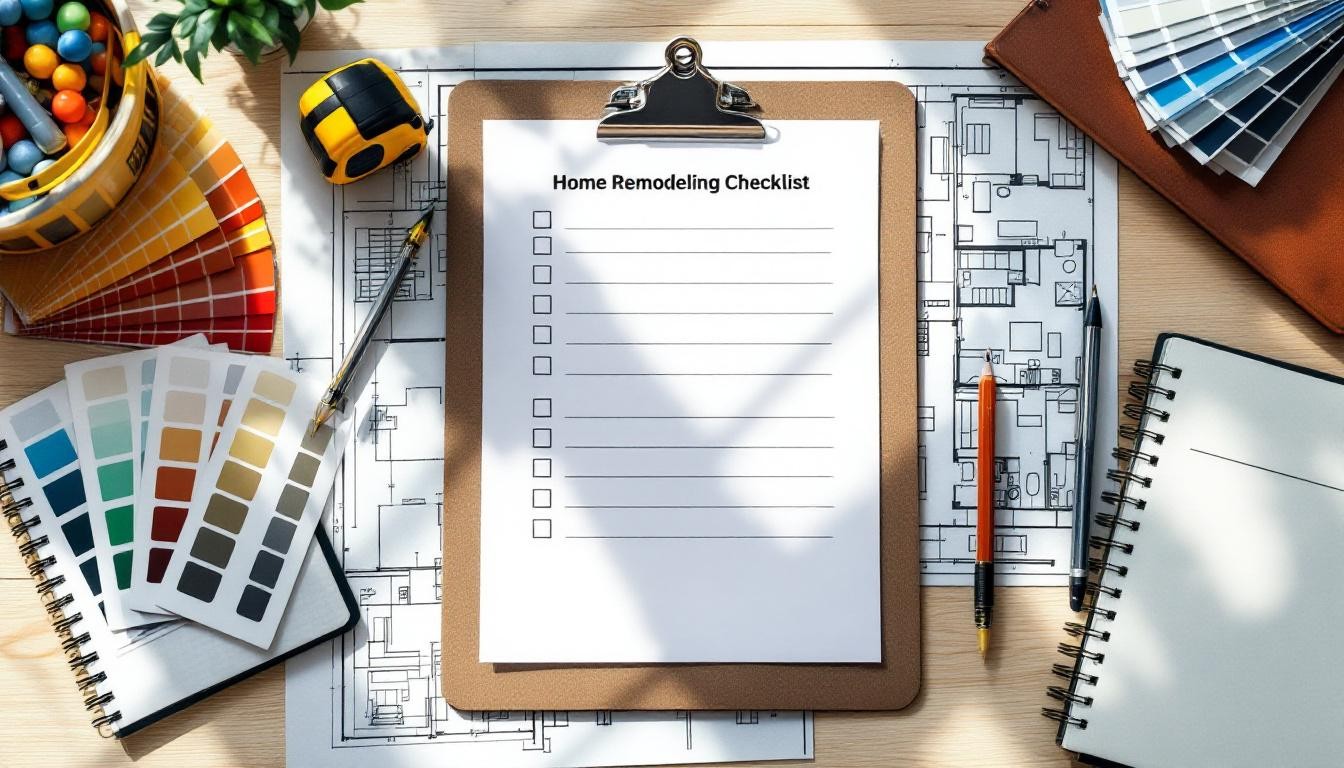
Home remodeling projects in Arlington, Vienna, and Tysons require careful planning to avoid costly mistakes. We at Dzala General Contractor have guided hundreds of homeowners through successful renovations, and we’ve learned that having a solid home remodeling checklist makes all the difference.
This guide walks you through every phase-from setting your budget to the final walkthrough. You’ll know exactly what to expect and when.
Getting Your Budget and Timeline Right
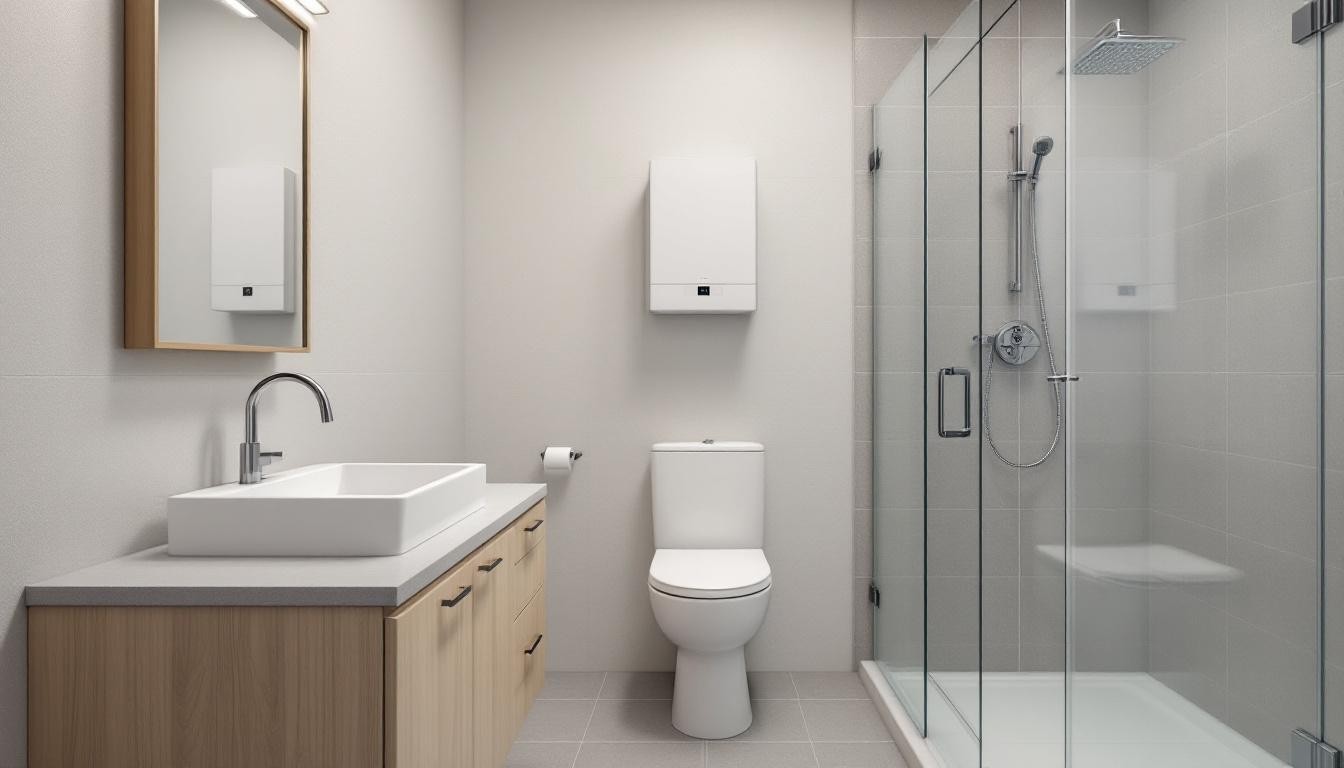
Setting your budget determines everything that follows, and most homeowners in Arlington, Vienna, and Tysons underestimate this figure by 15 to 20 percent. The average U.S. home renovation costs between $20,000 and $150,000 or higher depending on scope, with labor typically consuming 30 to 50 percent of the total expense. Start by defining what you actually want to achieve. Are you modernizing your kitchen to improve daily workflow, or are you adding square footage? A kitchen remodel in Northern Virginia averages between $15,000 and $50,000 depending on materials and complexity, while a bathroom update ranges from $10,000 to $35,000. Bathroom and kitchen projects return 60 to 75 percent of their investment when you sell, making them smart financial choices.
Prioritize Your Goals and Set Realistic Numbers
Write down your specific goals in order of priority, then assign realistic dollar amounts to each. Add 10 to 20 percent for contingencies, because hidden problems like outdated wiring or foundation issues emerge during construction in older homes. Request quotes from at least three contractors to understand the market rate in your area. This comparison reveals which contractors offer genuine value versus inflated pricing.
Document Your Current Space
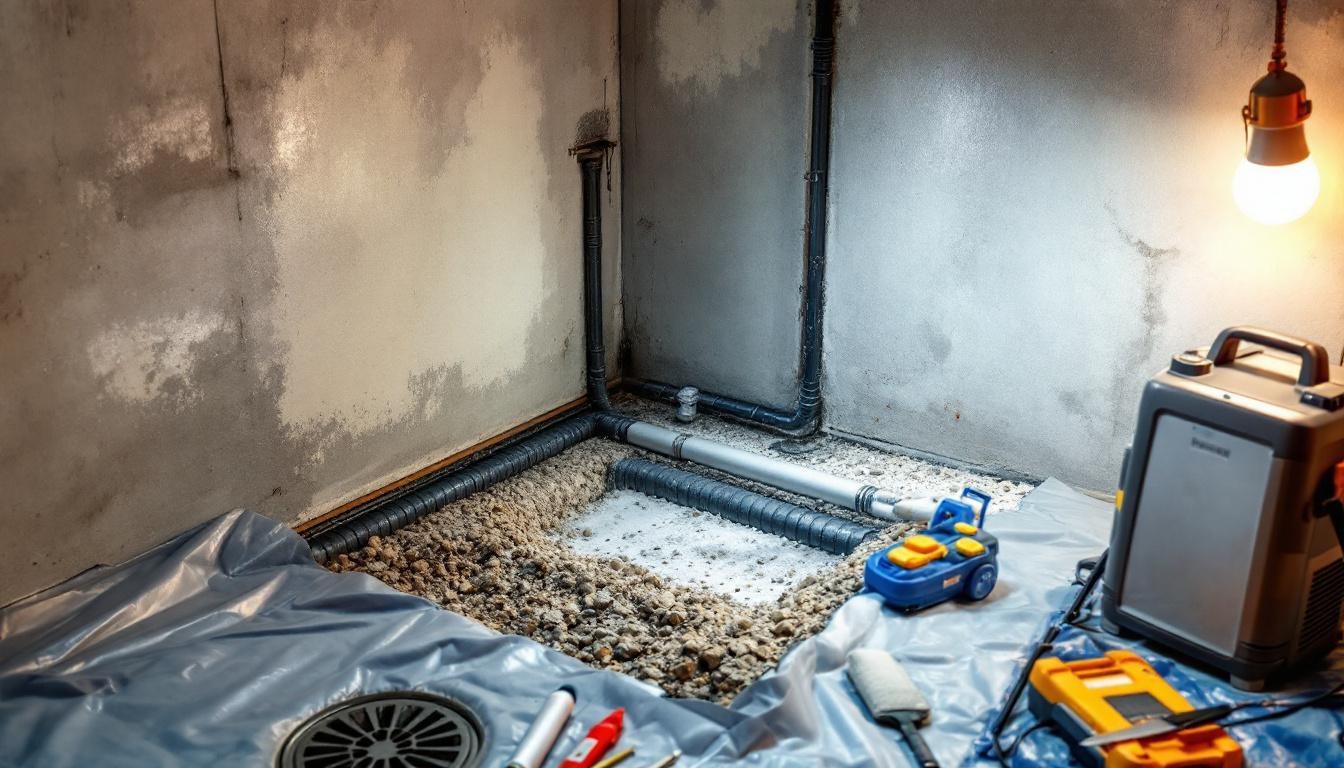
Walk through your current space and document what frustrates you daily. Kitchens with poor workflow, bathrooms lacking storage, or basements sitting empty represent wasted potential. Take photos and videos from multiple angles. Note which systems are aging: plumbing, electrical, HVAC, roofing. In Northern Virginia homes built before 1980, asbestos and outdated infrastructure create unexpected costs. Check your roof condition, window seals, and foundation for cracks. This assessment informs your timeline and budget because structural repairs must happen before cosmetic finishes.
Understand Your Project Duration
A whole-home renovation typically takes 3 to 6 months, while a single kitchen or bathroom ranges from 2 to 4 months. Your timeline depends heavily on permit requirements in your specific city. Arlington, Vienna, and Tysons each have different permitting processes and inspection schedules that affect your project duration.
Plan for Permits and Construction Phases
Permits can add 2 to 8 weeks to your timeline before construction even begins. In Arlington, submit applications through Permit Arlington online with plans scaled at minimum 1/8 inch equals 1 foot. Vienna and Tysons follow similar protocols but with different review timelines. Contact each city’s building department early to confirm requirements for your specific project type. Once permits are approved, establish a realistic construction schedule with your contractor that accounts for material lead times, weather delays, and inspection windows. Coordinate with your family about temporary relocation if the project disrupts your daily living space significantly. Most contractors schedule inspections at framing, mechanical, electrical, and plumbing stages before final approval. These inspections cannot be rushed and typically require 3 to 5 business days each for scheduling and completion.
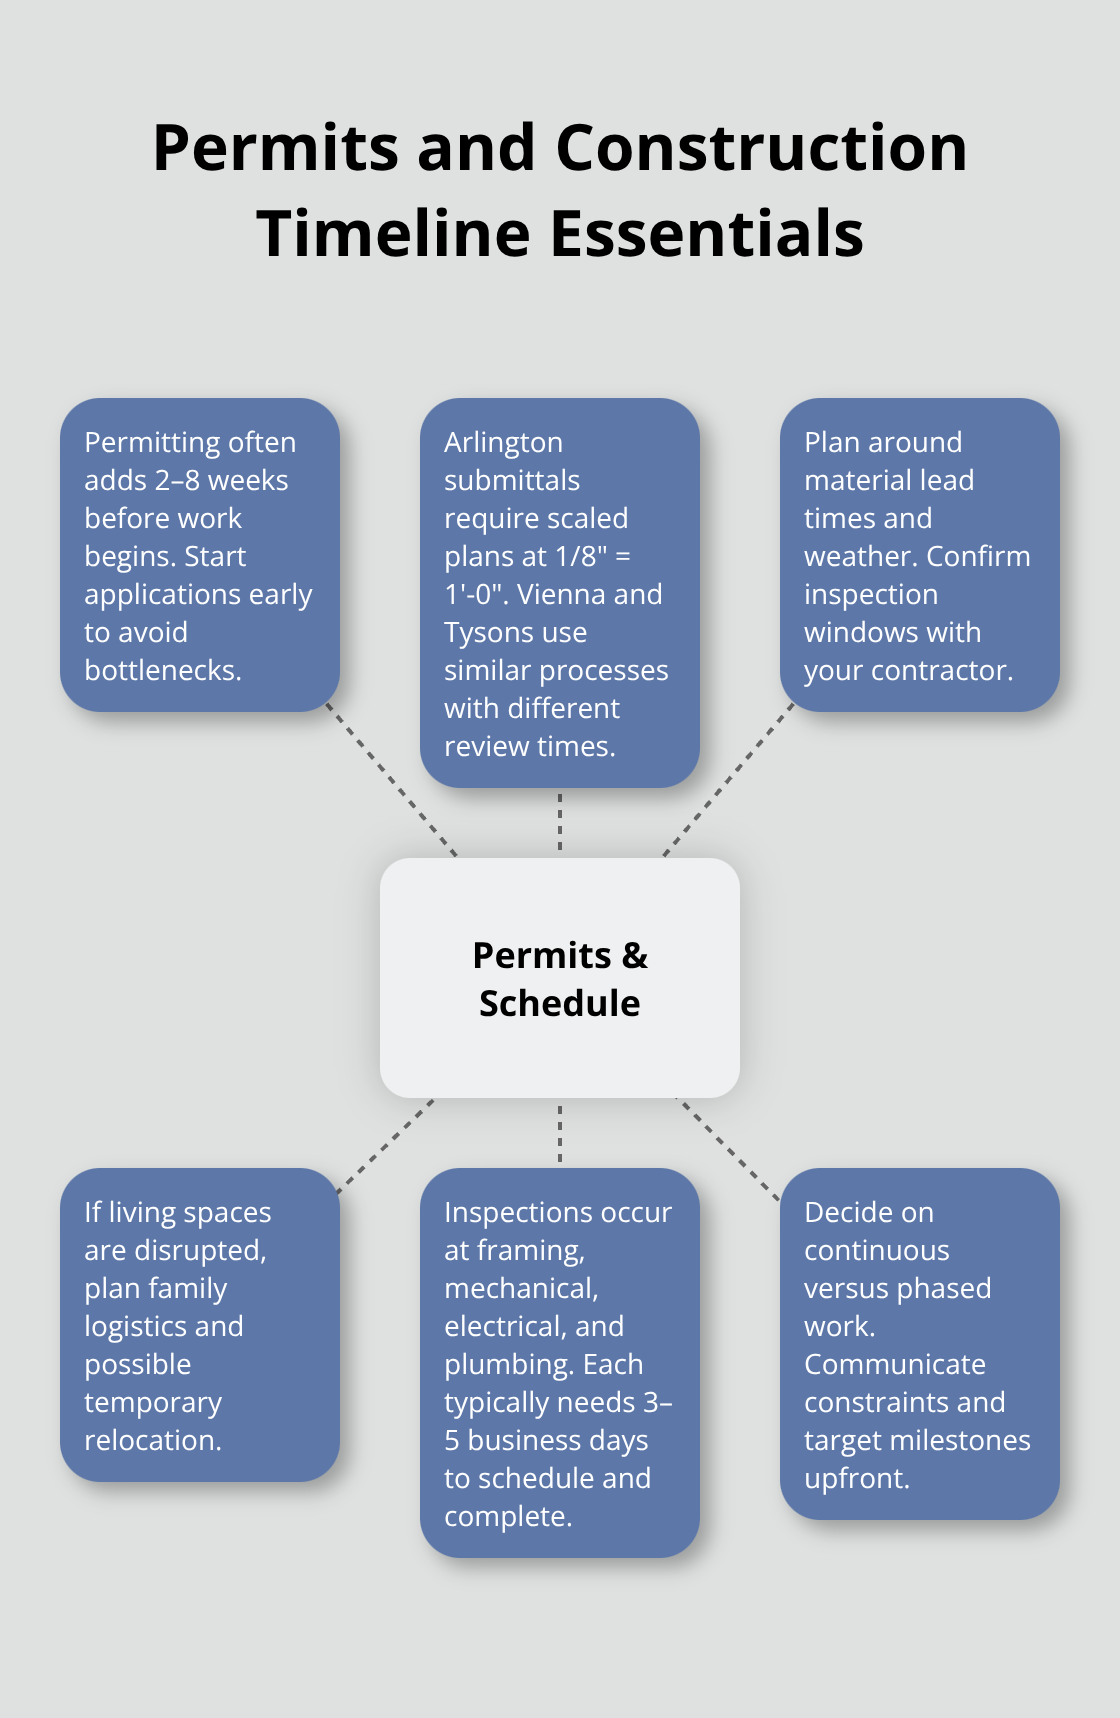
Communicate your schedule preferences upfront, whether you prefer continuous work or phased completion.
With your budget locked in and your timeline mapped out, you’re ready to move forward with selecting the right materials, design approach, and contractor partnership that will bring your vision to life.
Materials, Design, and Finding Your Contractor
Select Materials That Balance Quality and Budget
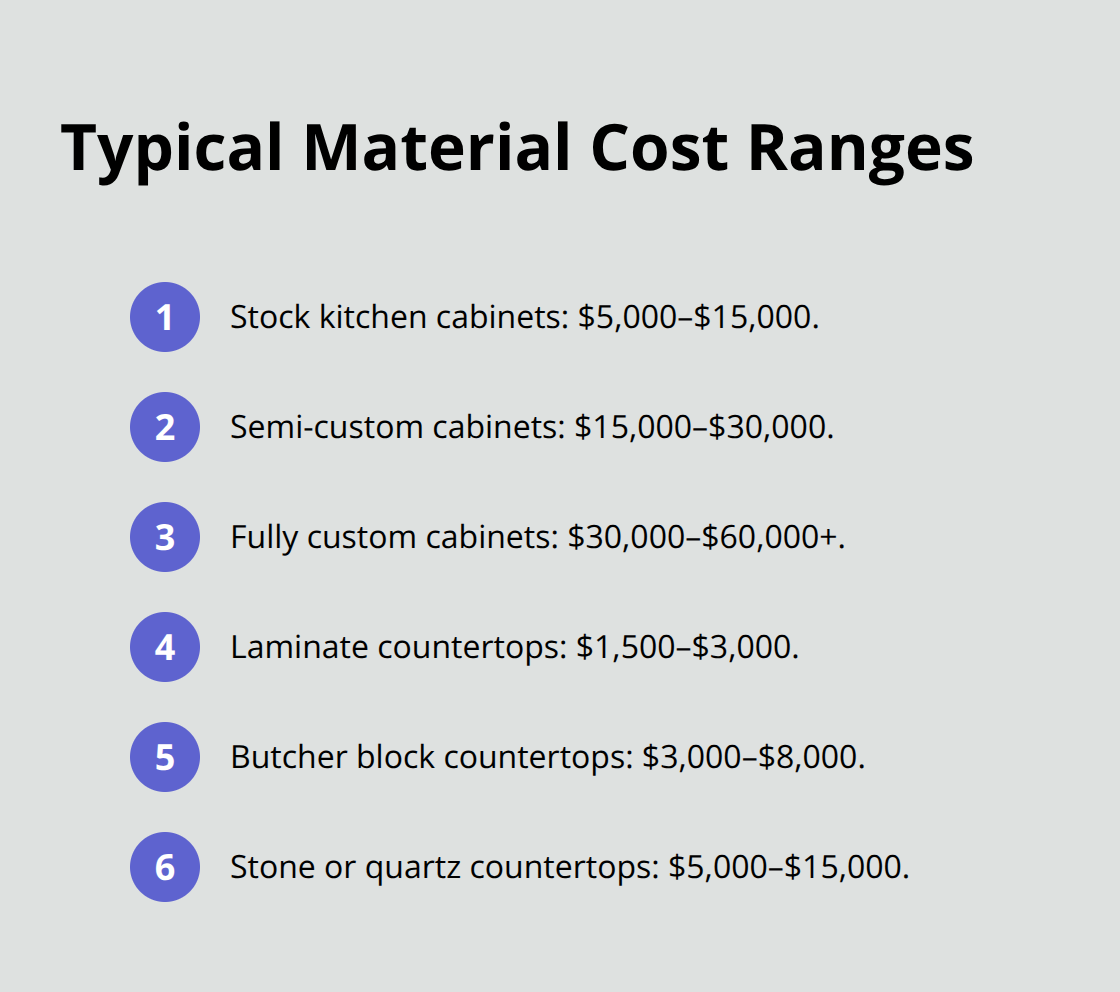
Material selection directly impacts your project cost and long-term satisfaction, so this phase demands specificity rather than general browsing. Stock cabinets cost $5,000 to $15,000 for a kitchen, semi-custom runs $15,000 to $30,000, and fully custom approaches $30,000 to $60,000 or higher. Countertops vary dramatically: laminate costs $1,500 to $3,000, butcher block $3,000 to $8,000, and stone or quartz $5,000 to $15,000. Most homeowners make the mistake of selecting premium finishes everywhere, then running out of budget for critical structural or mechanical work.
Prioritize durability in high-traffic areas. Kitchen islands and bathroom vanities receive heavy daily use, so investing in quality there pays dividends. Paint, tile, and hardware are easier to change later, so reserve budget flexibility there. Request material samples and live with them in your actual lighting for several days before committing. A countertop that looks perfect in showroom lighting may disappoint in your kitchen’s natural light. Work with your contractor to source materials specific to Arlington, Vienna, or Tysons, as local suppliers often offer faster delivery and better pricing than national chains.
Hire a Designer to Translate Your Vision
A designer translates your goals into actionable plans that contractors can build from, and this step prevents costly mid-project revisions. Designers charge $50 to $150 per hour or 5 to 15 percent of total project cost depending on complexity. In Northern Virginia, demand for design services is strong, so quality designers book weeks in advance.
Interview at least two designers and ask specifically about their experience with your project type in your city. A designer experienced in Arlington’s older homes understands foundation limitations and permit requirements differently than one working primarily in new construction. Request their portfolio and call three past clients directly to discuss timelines and budget adherence. When you hire your designer, establish clear deliverables: floor plans, elevation drawings, material specifications, and a detailed cost estimate. This clarity prevents scope creep and keeps your budget intact. The right designer also manages relationships between you and your contractor, catching conflicts before they become expensive problems on site.
Vet Contractors Thoroughly Before Signing
Selecting your contractor determines whether your project finishes on time and within budget. Request detailed written quotes from at least three licensed contractors in your area, and verify they carry current licenses and insurance. A contractor’s license number should be verifiable through your state’s licensing board. Ask specifically how they handle permit coordination, since Arlington, Vienna, and Tysons have different approval timelines. Choosing the right contractor is crucial to reducing re-work, optimizing material costs, and streamlining delivery.
Check references by calling previous clients and asking concrete questions: Did the project stay on schedule? Did costs remain stable? How did the contractor handle unexpected problems? Poor communication is the number one complaint homeowners lodge against contractors, so assess how quickly they respond to your initial inquiry. Get everything in writing, including scope of work, timeline, payment schedule, and warranty terms. A contractor willing to provide a detailed written contract demonstrates professionalism and accountability.
Verify Local Expertise and Communication Standards
Contractors who understand Arlington, Vienna, and Tysons navigate local permitting and inspection processes more efficiently than those unfamiliar with your area. Ask potential contractors about their experience with your specific city’s building department and typical approval timelines. Strong local contractors maintain relationships with inspectors and permit staff, which accelerates approvals and reduces scheduling conflicts. Assess communication quality during your initial consultations-responsiveness to emails, clarity in explanations, and willingness to answer questions reveal how they’ll operate during construction. A contractor who communicates clearly upfront will handle mid-project decisions and unexpected issues with the same transparency.
With your materials selected, your designer hired, and your contractor vetted, you’re ready to prepare your home for construction and establish the systems that keep your project organized and on track.
Managing Your Site and Protecting Your Investment
Prepare Your Home Before Construction Starts
Preparation begins weeks before your contractor arrives on site. Create a detailed walkthrough with your contractor and designer to establish work zones, material storage areas, and crew access points. In Arlington, Vienna, and Tysons, most homes sit on modest lots with limited space, so designating a specific staging area prevents materials from blocking driveways or damaging landscaping. Communicate clearly with neighbors about construction hours, parking, and noise expectations-most jurisdictions enforce 7 AM to 6 PM weekday work windows, with stricter limits on weekends.
Protect your existing finishes by sealing off completed areas with plastic sheeting and establishing dust containment protocols. If your project involves plumbing or electrical work, shut off water or power to affected zones before crews arrive. Move valuable items, artwork, and furniture away from construction zones at least two weeks before work starts. Document your home’s current condition with timestamped photos and video, establishing a baseline for any damage disputes.
Arrange temporary living solutions if renovation disrupts kitchens or bathrooms significantly-most homeowners underestimate how disruptive daily life becomes when basic utilities are compromised for weeks. Confirm material delivery dates with your contractor and verify that suppliers understand your site access requirements. In Northern Virginia, material delays average 10 to 14 days beyond initial estimates due to supply chain variability, so building buffer time into your schedule prevents schedule slippage.
Establish Clear Communication Systems
Establish a communication protocol with your contractor specifying how you’ll receive daily updates, who makes decisions when issues arise, and how change orders get documented and approved. Schedule weekly site meetings with your contractor on the same day and time-consistency prevents miscommunication about progress and next steps. Request photographic documentation of work at each phase: framing, mechanicals, drywall, and finishes. These photos create a record of what’s behind walls before they’re closed, invaluable if future issues emerge.
Monitor Work Quality Throughout Each Phase
Conduct your own walkthrough every three to four days, checking that work matches your approved plans and materials match your specifications. During framing inspection, verify that room layouts match your floor plan dimensions-mistakes caught here cost hundreds to fix later versus thousands after drywall installation. For mechanical, electrical, and plumbing phases, request your contractor provide copies of inspection reports immediately after completion. Arlington, Vienna, and Tysons each require third-party inspections at multiple stages, and contractors who delay providing these reports often hide scheduling problems.
Handle Changes and Track Payments Properly
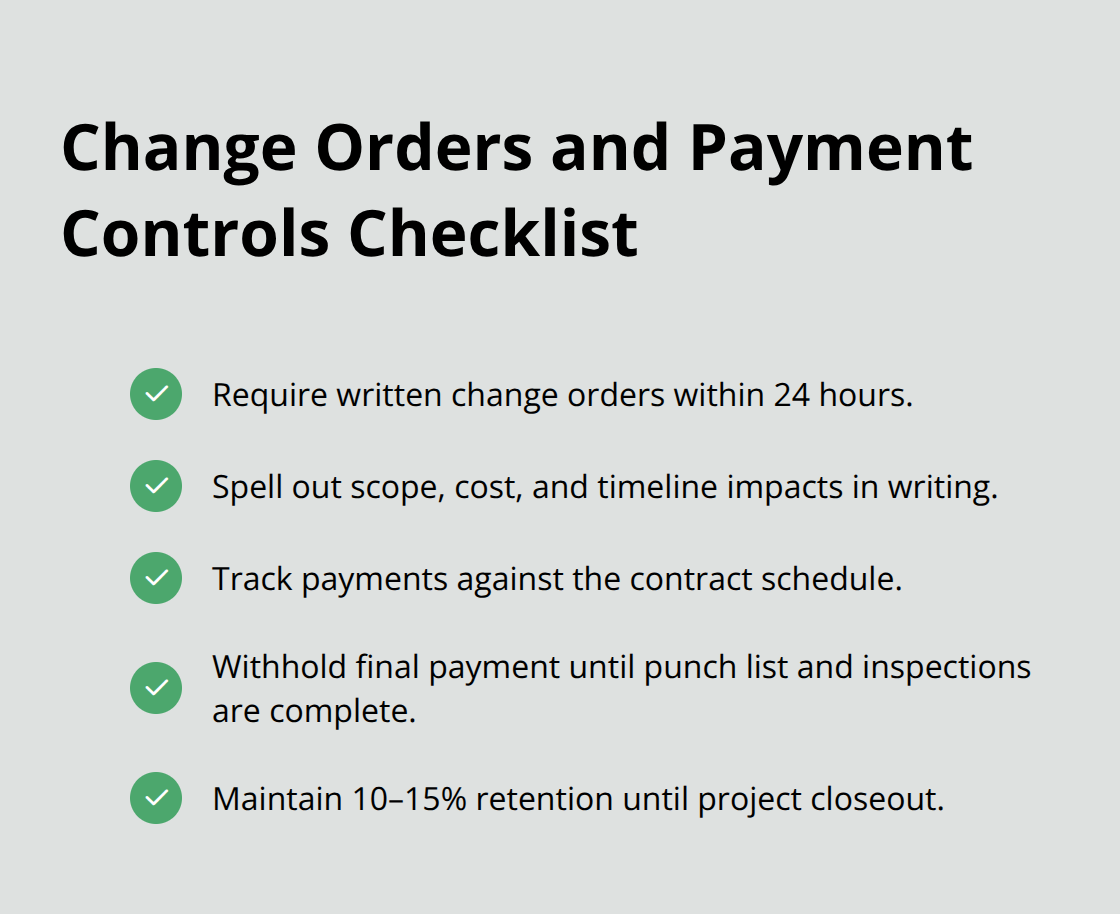
When unexpected issues surface, require your contractor to provide written change order proposals within 24 hours, specifying the scope, cost impact, and timeline effect. Never approve verbal change orders-written documentation prevents disputes about what was actually agreed upon. Track all payments against your contract schedule, withholding final payment until punch-list items are completed and all inspections pass. Most contractors expect 10 to 15 percent retention until project closeout, a standard practice that motivates timely completion of remaining work.
Maintain Complete Project Documentation
Maintain a project binder containing your contract, permits, insurance certificates, warranties, and all change orders in chronological order-this documentation protects you if disputes arise after project completion. This organized record demonstrates your diligence and provides clear evidence of all decisions, approvals, and work completed throughout your renovation.
Final Thoughts
Your home remodeling project reaches completion when your contractor conducts a final walkthrough with you, systematically verifying that every item on your home remodeling checklist has been addressed. Walk through each room together, checking that finishes match your approved materials, dimensions align with your floor plans, and all mechanical systems operate correctly. Request copies of all inspection certificates, warranties, and as-built documentation before releasing final payment.
Protecting your investment after completion requires establishing maintenance routines specific to your new systems and finishes. New HVAC systems need filter changes every 90 days, while kitchen appliances require annual service checks to maintain warranties. Document all maintenance activities and keep receipts organized with your project binder, so you maintain a complete record of your renovation work.
We at Dzala General Contractor serve homeowners throughout Arlington, Vienna, and Tysons with kitchen remodeling, bathroom updates, and home additions. Contact us to discuss how we can transform your home with the same attention to detail and local expertise that guides every successful project.